I often wondered, especially as I'm accused by others of being a ridiculously fast painter. It's certainly an advantage that my painting table is a permantnet feature of the living room, in plain sight of the TV, HIFI, PC and Wife! Hardly an evening goes by without an hour of painting (except Saturdays I guess), so results can appear to come pretty fast to others who paint maybe only on sundays, or that one night a week they're allowed to set the painting table up.
Still, it doesn't mean the result will be any good. The common answer to the question 'how do I get good at painting model soldiers' as asked on any number of forums and in magazines, is always some variation on 'paint 500 bad ones first'.
I'm always learning.
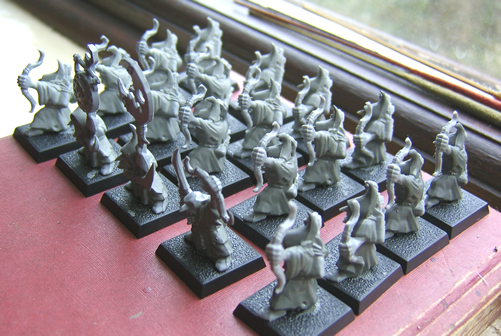
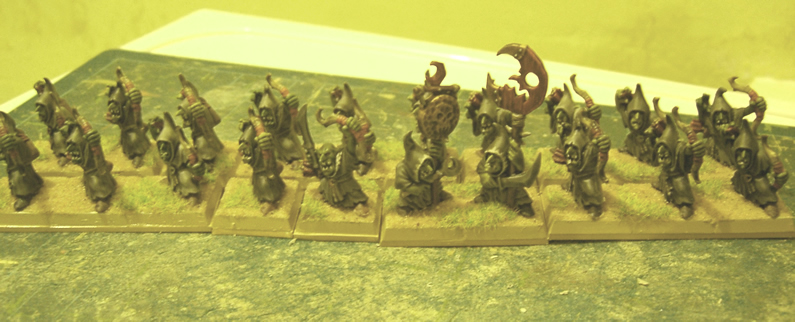
None the less how long does reasonable tabletop quality take. To find out I timed a set of figures from start to finish. The figures in question being 20 goblin archers from the latest Warhammer boxed set.
Clipped from the sprues, the figures were slotted into the bases and painting began. They were not glued into the bases, as I intended to both multibase and randomise the positioning of the figures later. The troops were laid out in the 5x4 block with a variety of poses in each row, then each row had its' robes painted a different shade of grey; starting with the lightest shade, and gradually adding more of a darker grey to the mix for each row until all 20 figures were done. I tend to start figures by painting the largest area of colour first, usually this means the main uniform, on ancients figures it is often the flesh, on moderns the fatigues.
Next for the goblins was the flesh tone. On goblins, I like to vary the flesh tones, and although I've never bothered with doing so on human figures the principle that skintone varies greatly would still stand true. The method is basically the same as for the grey robes, but this time with a mid green base lightened with Yellow and Cream through teh columns rather than the rows; to avoid them all matching the command group were shuffled along ther rows at this stage. I was neat were the edges met the grey, but not anywhere else. To this point the process has taken a total of two hours from out of the box.
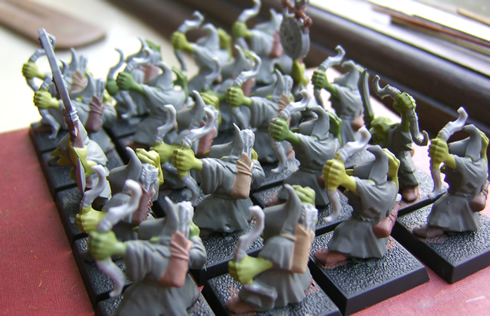
Next the bows, belts, straps teeth and other details were despatched. The figures were entirely base coated in under three and a half hours out of the box. Next the figures had to be carefully cut off the slots, which were then reglued back into the bases.
The bases were then glued to squares of 60-thou (2mm) plasticard. 4 pieces for three bases, 2 for two bases and 4 singles. The gaps were filled with quick drying filler (Tetrion of similar) and the figures then glued in position. You'll have noticed that the figures were so far painted in flat colour. That is because this is speed painting! No time for highlights here! Instead I use a combined varnish and wash mix to shade and protect the figures. Some use woodstains for this (the notorious 'DIP' technique) but I prefer to mix my own:
20-30 parts Humbrol Mattcote varnish (well mixed) + 1 part Humbrol matt black paint (or brown/dark green/etc as appropriate) + 3 parts thinners (optional)
It's a bit of an art to get right, and results can vary, I certainly put in more tint than I like on these chaps, but the results are instant and magical. Just slop it on, and the figures are transformed. It can be worth using a clean brush to draw of excess pigment if it is building up in blobs at the bottom of the figure. Lastly in this shot the bases have been given a coat of of sand brown paint.
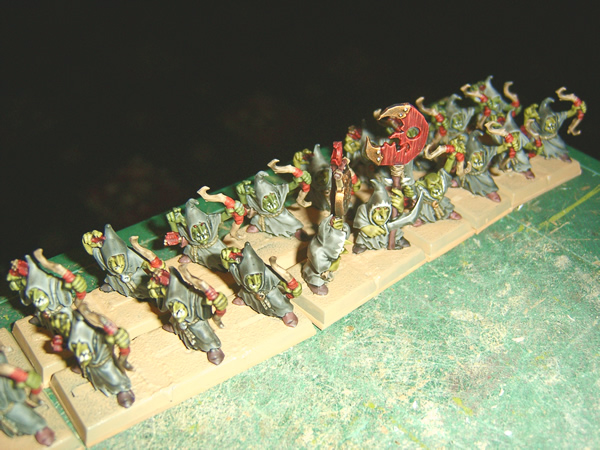
For finishing, a layer of wood glue was applied to the surfaces of the bases, and they were dipped in fine playpit sand, a second pass was used to add patches of GW/Noch static grass (Noch is a model railroad company; I suspect they supply GW its' scatters, but from source they cost half the price). Last of all the bases get a second coat of sand brown paint; and they're done!
From start to finish the unit has taken just 5 hours, to do everything, that's 300 minutes, which works out at 15 minutes per figure. Bear in mind tough you have to allow for drying time at several points, notably the filler, varnish wash and basing stages; the painting itself allows me at least to work with wet colours, but you have to still take comfort breaks. In all the figures were onto and off of the painting table in 6 days.
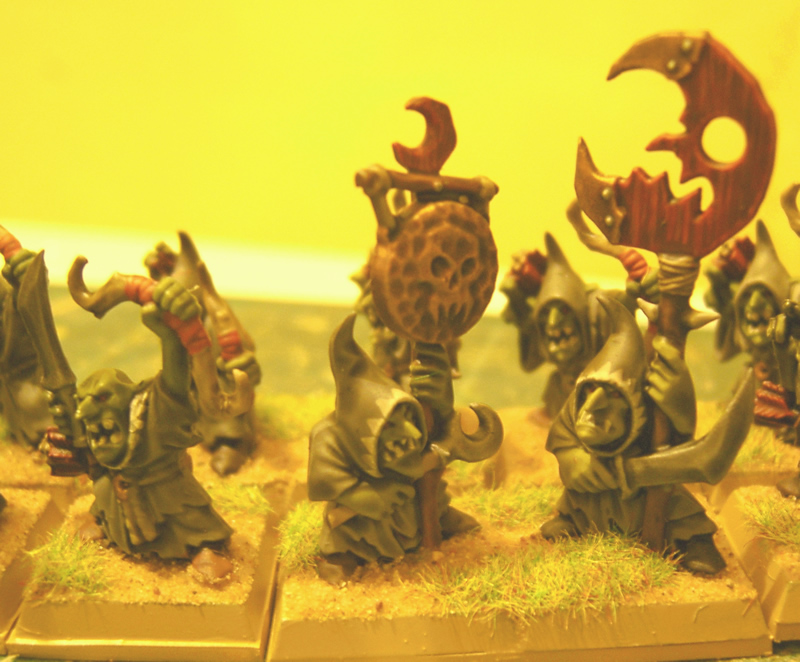
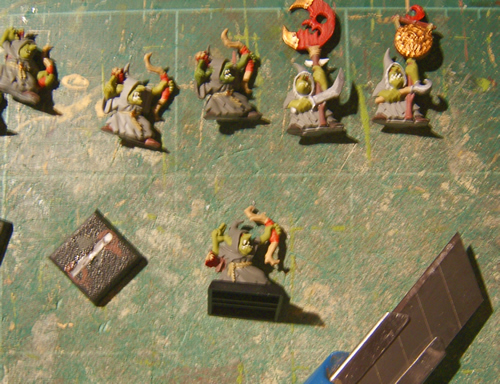
As you can see from the command group above, there was still time for some detail in the unit, I was able to do the eyes with highlights, pick out the teeth, give the command group some personal details and spend a little time on the standard. The key to this technique, beyond being fast is simply to be neat and light of touch. Better to ned two strokes of the brush to put a belt in, than to make a messy blob of it in one go.
Of course practice helps, as does having all the right kit available, but it is a perfectly reasonable timescale for producing straightforward wargames figures, whether fantasy or historical, 28mm, 20mm or 15mm!
Time yourself, you may be surprised, maybe try my techniques, see if it's any faster for you...


No comments:
Post a Comment